
Eco Friendly Move Out Cleaning Checklist: Room by Room

Table of Contents
Why an Eco Friendly Move Out Cleaning Checklist Saves Your Deposit
Eco Friendly Cleaning Products That Work (and How to Dilute Them Safely)
Move Out Cleaning Duration: A Realistic Room-by-Room Timeline
Kitchen and Appliance Deep Cleaning, Including Natural Oven Cleaning Methods
Bathroom, Bedroom, and Living Areas: Non-Toxic Deep Cleaning Tips
Last Updated: October 21, 2026
Why an Eco Friendly Move Out Cleaning Checklist Saves Your Deposit
A move-out clean is the last chance to leave a rental in the condition your lease requires, and a written plan keeps you from missing the spots inspectors photograph. This eco friendly move out cleaning checklist from Adorn & Polish walks every room in order, using products that are safe around pets and children. Because a documented, room-by-room clean reduces the disputes that eat into a damage deposit, most renters who follow one finish faster and walk away with more of their money.
What a Rental Inspection Actually Looks At
An inspection is a comparison, not a white-glove test. Property managers walk the unit against the move-in condition report, checking for damage, excessive wear, and cleanliness left behind.
Damage versus dirt. A scuffed wall is noted; a greasy stovetop is a cleaning charge.
Documentation. Photos and the original checklist carry more weight than memory.
Timing. Inspections usually happen after keys are returned, so your clean must be finished before you hand them over.
Pro Tip Photograph every room at eye level and again inside appliances and cabinets the day you finish. A dated photo set is the strongest evidence you can hold if a charge is questioned later.
Eco Friendly Cleaning Products That Work (and How to Dilute Them Safely)
Most green cleaners fail for one reason: wrong dilution or wrong surface. Vinegar, baking soda, castile soap, and concentrated plant-based cleaners handle nearly every move-out task when mixed correctly and matched to the surface. The table below is a starting point, not a license to spray everything everywhere, read the compatibility notes underneath before you start.
Cleaner | Dilution | Best For | Avoid On |
White vinegar | 1 part vinegar to 1 part water | Glass, fixtures, soap scum, chrome | Natural stone (marble, granite, travertine), grout, aluminum, cast iron |
Baking soda paste | 3 parts soda to 1 part water | Ovens, sinks, tubs, stained enamel | Polished metal, brushed stainless (can scratch), no-scrub glass |
Castile soap | A few drops per 16 oz spray bottle | Counters, cabinets, painted wood, floors | Nothing common, but rinse residue on stone |
Concentrated green cleaner | Follow the bottle label exactly | General wiping, greasy surfaces | Check the label for stone, sealed wood, and electronics |
Hydrogen peroxide (3%) | Undiluted, spot test first | Grout, cutting boards, mildew on tile | Colored fabric, wood, metal (can bleach or pit) |
Rubbing alcohol (70%) | Undiluted on a cloth | Light switches, handles, glass, sticky residue | Acrylic, some plastics, finished wood |
Surface Compatibility and Patch Testing
Always patch test on a hidden spot first: a cabinet side, a corner of flooring, or behind an appliance. Wait five to ten minutes and check for dulling, discoloration, or etching before you apply anything broadly. A few rules of thumb worth taping to the fridge:
Natural stone counters and tile (marble, granite, travertine, limestone) are acid-sensitive. Vinegar and lemon will etch the surface permanently. Use a pH-neutral concentrated cleaner labeled for stone, or plain castile soap and water.
Grout is alkaline-sensitive and porous. Vinegar works on mildew but can erode grout over repeated use; baking soda paste plus a soft brush is gentler.
Stainless steel dislikes abrasive powders. Wipe with castile soap, then buff with a microfiber cloth in the direction of the grain.
Watch Out Never mix vinegar with bleach or ammonia. The combination releases a toxic gas, and it is the most common green-cleaning mistake we see during move-outs. Never mix hydrogen peroxide with vinegar either, it forms peracetic acid, which is corrosive.
Waste Reduction and Responsible Disposal During a Move
An eco-friendly move-out is as much about what you do not throw away as what you spray. A few habits cut the waste stream noticeably:
Refill, don't rebuy. Buy one concentrate and one reusable spray bottle per cleaner type, then dilute at home. Shipping water in ready-to-use bottles is the single biggest waste in green cleaning.
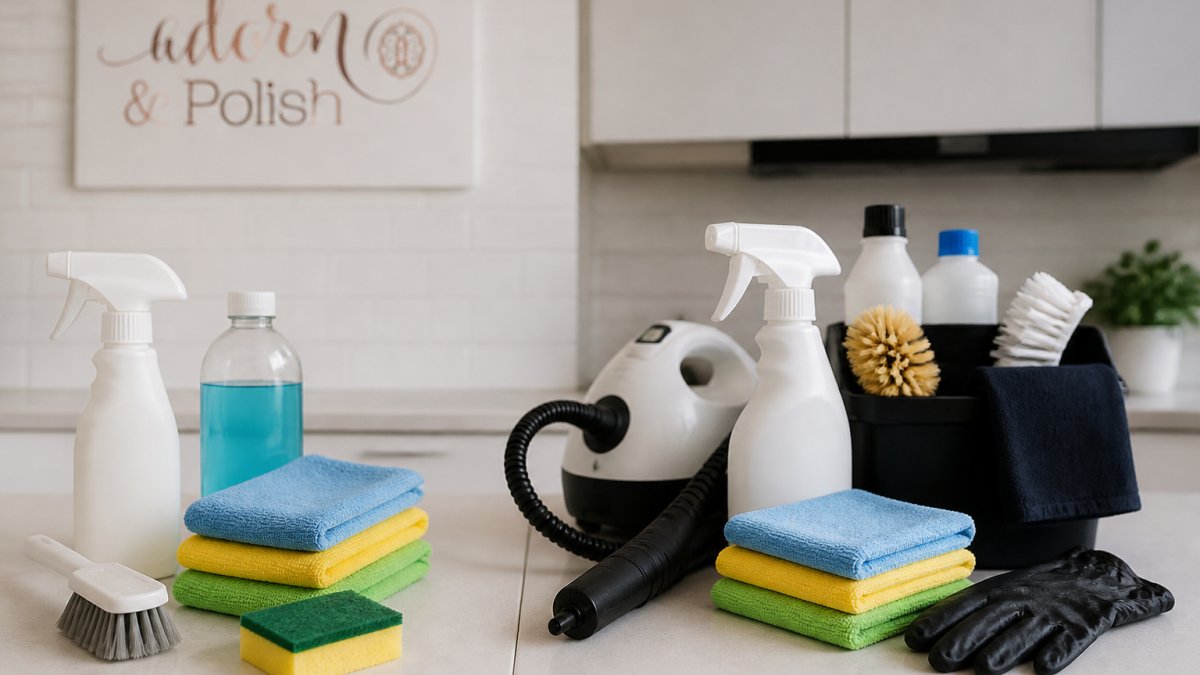
Switch to microfiber. A pack of color-coded microfiber cloths (one color per room) replaces dozens of paper towels per move and can be laundered and reused for years.
Use up what you have. Finish open bottles of cleaner rather than tossing them, most municipalities classify full or partially full cleaner bottles as household hazardous waste, not regular trash.
Pet-, Child-, and Allergy-Conscious Cleaning
Green does not automatically mean safe for sensitive occupants. A few precautions matter more than the label:
Ventilate first. Open windows and run a fan or the HVAC fan setting while using vinegar, peroxide, or concentrates. Vinegar fumes bother some people and most pets.
Rinse residue. Wipe food-contact surfaces (counters, sinks, high-chair trays) with a clean damp cloth after cleaning so no residue is left for a child or pet to lick.
Watch fragrance. "Fragrance-free" and "dye-free" matter more than "natural" for allergy-prone households. Essential-oil cleaners can trigger reactions in cats, birds, and people with asthma.
Move Out Cleaning Duration: A Realistic Room-by-Room Timeline
Plan on a full day for a one-bedroom unit and two days for a three-bedroom home when you clean alone. Move out cleaning duration depends on how much has been packed, how long the unit sat empty, and how much grease or soap scum built up. The table below is a working baseline; add 30 to 50 percent if the unit has been occupied for years without a deep clean.
Room | Time Estimate | Priority |
Kitchen and appliances | 3-4 hours | Highest |
Bathroom | 1.5-2 hours | High |
Bedrooms and living areas | 2-3 hours | Medium |
Floors and final walkthrough | 1-2 hours | High |
Windows, blinds, and tracks | 1-2 hours | Medium |
Walls, doors, and baseboards | 1-2 hours | Medium |
A Day-by-Day Schedule
A three-day plan works for most renters and keeps the heaviest jobs from landing on moving day.
Day 1, Pack and purge. Remove every personal belonging, donate or dispose of what you are not keeping, and clear all cabinets, closets, and drawers. Cleaning an empty unit is faster and safer than cleaning around boxes.
Day 2, Kitchen and bathroom. Tackle the oven, refrigerator, freezer, stovetop, sink, tub, shower, and toilet while you still have energy. These are the rooms inspectors photograph most.
Day 3, Everything else. Dust ceilings down, wipe walls, doors, baseboards, and switches, clean windows and tracks, vacuum and mop floors, then do the final walkthrough with photos.
A Prioritized Order of Attack
Start with the dirtiest, most time-consuming jobs while you still have energy: the oven, refrigerator, and bathroom. Work top to bottom in each room so dust and drips land on surfaces you have not cleaned yet. Save floors and the final walkthrough for last. If you are short on time, the order to protect is kitchen, bathroom, floors, then everything else, those three carry the most inspection weight.
Final Walkthrough and Inspection Documentation
A clean unit and a documented clean unit are not the same thing. Before you hand over the keys, walk the unit with your checklist and your phone.
Every appliance cleaned inside and out, including under and behind
Cabinets and drawers empty, wiped, and free of crumbs
Bathroom scrubbed, fixtures polished, grout and caulk clean
Photograph every room at eye level and again inside appliances, cabinets, and closets the day you finish. A dated photo set is the strongest evidence you can hold if a charge is questioned later.
Pro Tip Do the walkthrough at night with the lights on, then again the next morning in daylight. Low light hides streaks and dust that a daylight inspection will catch.
If time is short, hand the heavy rooms to a professional team. Adorn & Polish offers move-out cleaning with background-checked cleaners and eco-friendly products.
Kitchen and Appliance Deep Cleaning, Including Natural Oven Cleaning Methods
The kitchen decides most inspection outcomes. Grease, crumbs, and residue inside appliances are the charges renters most often dispute.

Natural oven cleaning methods work if you give them time. Coat the interior with a baking soda paste, let it sit overnight, then spray vinegar to lift the residue and wipe with a microfiber cloth.
Wipe countertops, backsplash, cabinet fronts, and drawers, then clean the sink and fixtures until they shine.
Refrigerator, Freezer, and Cabinets
Empty and unplug the refrigerator and freezer, remove shelves and drawers, and wash them in warm soapy water. Wipe the interior with a vinegar solution and leave the doors open to dry. Inside cabinets, vacuum crumbs first, then wipe shelves and drawer runners so nothing sticky remains.
Bathroom, Bedroom, and Living Areas: Non-Toxic Deep Cleaning Tips
Bathrooms and living spaces respond best to a simple sequence: soak, scrub, rinse, dry. These non-toxic deep cleaning tips cover the spots inspectors check first.
Soap Scum, Glass, and Fixtures
Spray the shower, tub, and tiles with a vinegar solution, let it sit, then scrub soap scum with a microfiber cloth. Clean glass and mirrors with diluted vinegar and buff dry to avoid streaks.
In bedrooms and living areas, dust from the ceiling down: light fixtures, shelves, baseboards, then window sills. Wipe all personal belongings left behind and remove every nail, hook, and adhesive strip.
Key Takeaway The bathroom and kitchen carry the most inspection weight. Spend your first hours there, and the rest of the checklist becomes a formality.
Floors, Dusting, and the Final Walkthrough
Vacuum carpets and rugs, then mop hard floors with a diluted castile soap solution, working from the far corner toward the door. Dust vents and blinds, wipe light switches and door handles, and clean the inside of windows and glass doors.
Then do the final walkthrough with your checklist in hand:
Every appliance cleaned inside and out
Cabinets and drawers empty and wiped
Bathroom scrubbed and fixtures polished
Frequently Asked Questions
What does a typical move-out clean include?
A standard move-out clean covers the whole unit, not just surface tidying. Expect dusting and wiping of all surfaces, cabinet and drawer interiors, appliance cleaning inside and out, bathroom scrubbing including soap scum and fixtures, mirror and glass cleaning, and vacuuming plus mopping of all floors. An eco friendly move out cleaning checklist adds surface-safe products, patch testing on delicate finishes, and proper ventilation. Documenting each task with photos helps you answer questions at the rental inspection and protect your damage deposit.
How much time should I allocate for a full move-out clean?
Move out cleaning duration depends on unit size and how long it sat uncleaned. A studio or one-bedroom typically takes a focused half day, while a three-bedroom home with heavy kitchen and bathroom buildup can run a full day or more, especially if you are working alone. Budget extra time for appliance interiors and soap scum removal, which are the slowest tasks. If your schedule is tight, booking professional move-out cleaning is often faster than stretching the job across several evenings.
Are eco-friendly cleaning products as effective as traditional chemicals?
They can be, when you match the product to the surface and give it dwell time. Vinegar, baking soda, and concentrated plant-based cleaners handle grease, soap scum, and everyday grime well if you let them sit for a few minutes before scrubbing. Heavier buildup may need a second pass or a stronger concentrate. Always patch test on painted cabinets, natural stone, and sealed wood first, and ventilate the room. The right eco friendly cleaning products that work are the ones formulated for the specific surface you are cleaning.
What are the best non-toxic alternatives for deep cleaning appliances?
Baking soda paste is the workhorse for oven interiors and stovetop grates: mix it with water, coat the surface, and let it sit before scrubbing. Vinegar cuts mineral film and loosens residue in the refrigerator and microwave. Steam from a bowl of hot water loosens baked-on microwave splatter. For the dishwasher, run a cycle with a cup of vinegar placed on the top rack. These natural oven cleaning methods and appliance routines avoid harsh fumes, but always patch test and ventilate while you work.
How can I clean my apartment for move-out using natural products?
Start with a room-by-room checklist and work top to bottom so dust does not resettle on clean floors. Use diluted vinegar for glass and fixtures, baking soda paste for sinks and tubs, and a plant-based all-purpose concentrate for countertops and cabinets. Microfiber cloths reduce the amount of product you need. Ventilate each room, patch test painted or stone surfaces, and photograph every area when finished. A documented, eco friendly move out cleaning checklist makes the rental inspection smoother and supports your damage deposit claim.
Moving is stressful enough without spending your last day scrubbing an oven. If you would rather hand the checklist to a team that works to inspection standards, Adorn & Polish provides eco-friendly move-out cleaning with background-checked cleaners, seamless online booking, and secure card payment. Get started with Adorn & Polish and leave your rental spotless.

Comments